Showing posts with label sewing. Show all posts

Monday, July 16, 2012

"B" is for Baby Shower

Sew: monogrammed seersucker pouches


Party favors for a boy baby shower.


Light blue seersucker on the exterior with navy lining and monograms:


Here's how I made the pouches:

1. Supplies:

1 - light blue seersucker fabric @ 10" x 14"
1 - med. fusible interfacing @ 10" x 14"
2 -Kona nightfall navy fabric @ 10" x 7"
1 - 9" white zipper
5/8" navy grosgrain ribbon


2. Fuse interfacing to wrong side of seersucker.
3. Pin letter centered on one half, zigzag stitch in place.
4. Place zipper face down on one end then one piece of lining, stitch:


5. Repeat for other side with other lining piece.
Top stitch lining down on interior to prevent from getting caught in zipper:


6. Right sides together sew side seams and miter corners:


7. Clip miters off to alleviate bulk:


8. Turn right side out, press raw edge of lining in 1/2" and straight stitch closed:


9. Push lining down into pouch and press smooth.


I'm linking up to:

Whatcha Got Weekend @ Lolly Jane
SAS @ Funky Junk
DIY Fall Festival @ The DIY Showoff
Tutorials & Tips Tuesday @ Home Stories A to Z
Good Life @ A Beach Cottage
Transformation Thursday @ The Shabby Creek Cottage
Strut Your Stuff @ Somewhat Simple
Share Awesomeness Thur @ The 36th Avenue
Pretty Things Thursday @ Scissors & Spatulas
Flaunt it Friday @ Chic on a Shoestring
Frugal Friday @ The Shabby Nest
SAS @ Just a Girl
Remodelaholics Anonymous @ Remodelaholic
inspiration board @ Carolyns Homework
Textiles @ Freckled Laundry
Sunday Showcase Party @ Under the Table & Dreaming

Sunday, July 8, 2012

"C" is for Chevron

Sew: monogrammed chevron beach tote bag


Easy to make and personalize your own beach tote:


image from pbteen.com

I made my own version with navy chevron fabric and added a fuschia monogram:


This version is lined with drop cloth canvas:


It's deep and big, measuring 20"w x 16"h x 7.5"deep:


Here's how I made the monogrammed chevron beach tote:

1. Supplies:

1 - chevron exterior fabric @ 41" x 21"
1 - fusible interfacing @ 41" x 21" (iron to wrong side of chevron)
1 - drop cloth lining fabric @ 38" x 21"
2 - chevron fabric strips @ 3" x 21"
5/8" thick poly rope @ 40"


2. Pin letters in place about 4" down from top edge:


3. Zig zag stitch in place:


4. Sew 3" chevron strips to drop cloth lining piece at both short ends:
(1/2" SA)


5. Fold exterior chevron piece in half, right sides together and sew side seams 1/2"SA:
(Press seams open.)


6. To make the mitered corners press the side seam flat against the folded base making a triangle:
Mark at 7.5" wide.


7. Sew mitered corner then clip excess bulk:


8. Repeat steps 5 - 8 for drop cloth lining piece.

Be sure to line up chevron seam when sewing side seams together:


9. Turn drop cloth lining right side out and stuff into exterior bag piece (right sides together):
Cut 2 - 20" pieces of rope.


10. Pin rope handles in between lining and exterior chevron, 6" from side seams leaving at least 1" hanging out then pin remaining top seam all around:


11.  Sew top shut with 1/2"SA leaving at least a 6" gap open preferably near the back and NOT over any of the rope sections:


12. Turn bag right side out through the opening in the top seam:


13. Push drop cloth lining down into bag and press top seam smooth, pin in place to ready for top stitching:


14. Top stitch 5 rows.  This adds extra strength to the rope handle and creates a decorative finish:


Ready for the beach or pool.


I'm linking up to:

Whatcha Got Weekend @ Lolly Jane
SAS @ Funky Junk
DIY Fall Festival @ The DIY Showoff
Tutorials & Tips Tuesday @ Home Stories A to Z
Good Life @ A Beach Cottage
Transformation Thursday @ The Shabby Creek Cottage
Strut Your Stuff @ Somewhat Simple
Share Awesomeness Thur @ The 36th Avenue
Pretty Things Thursday @ Scissors & Spatulas
Flaunt it Friday @ Chic on a Shoestring
Frugal Friday @ The Shabby Nest
SAS @ Just a Girl
Remodelaholics Anonymous @ Remodelaholic
inspiration board @ Carolyns Homework
Textiles @ Freckled Laundry
Sunday Showcase Party @ Under the Table & Dreaming

Tuesday, July 3, 2012

"F" is for Fourth of July

Build: kids adirondack chairs


Three kid size adirondack chairs with handpainted stars:


Chair plans courtesy of Ana White, for a similar version use these.


So sturdy even Mommy fits in these chairs:


The perfect backyard accessory, even if the kids don't sit in them very long.


Thank you Ana for making great plans for more backyard fun!


Here's how I finished the kids adirondack chairs:

1. Build the chairs as per Ana's plans.
Build the back piece then use a jigsaw to make curve:


2. When adding the seat slats use a scrap piece of wood for consistent spacing:


3. Sand, prime then two coats Rustoleum white lacquer:


4. Print out a 1.75" star.
Center star on chair back, trace outline with a ballpoint pen:


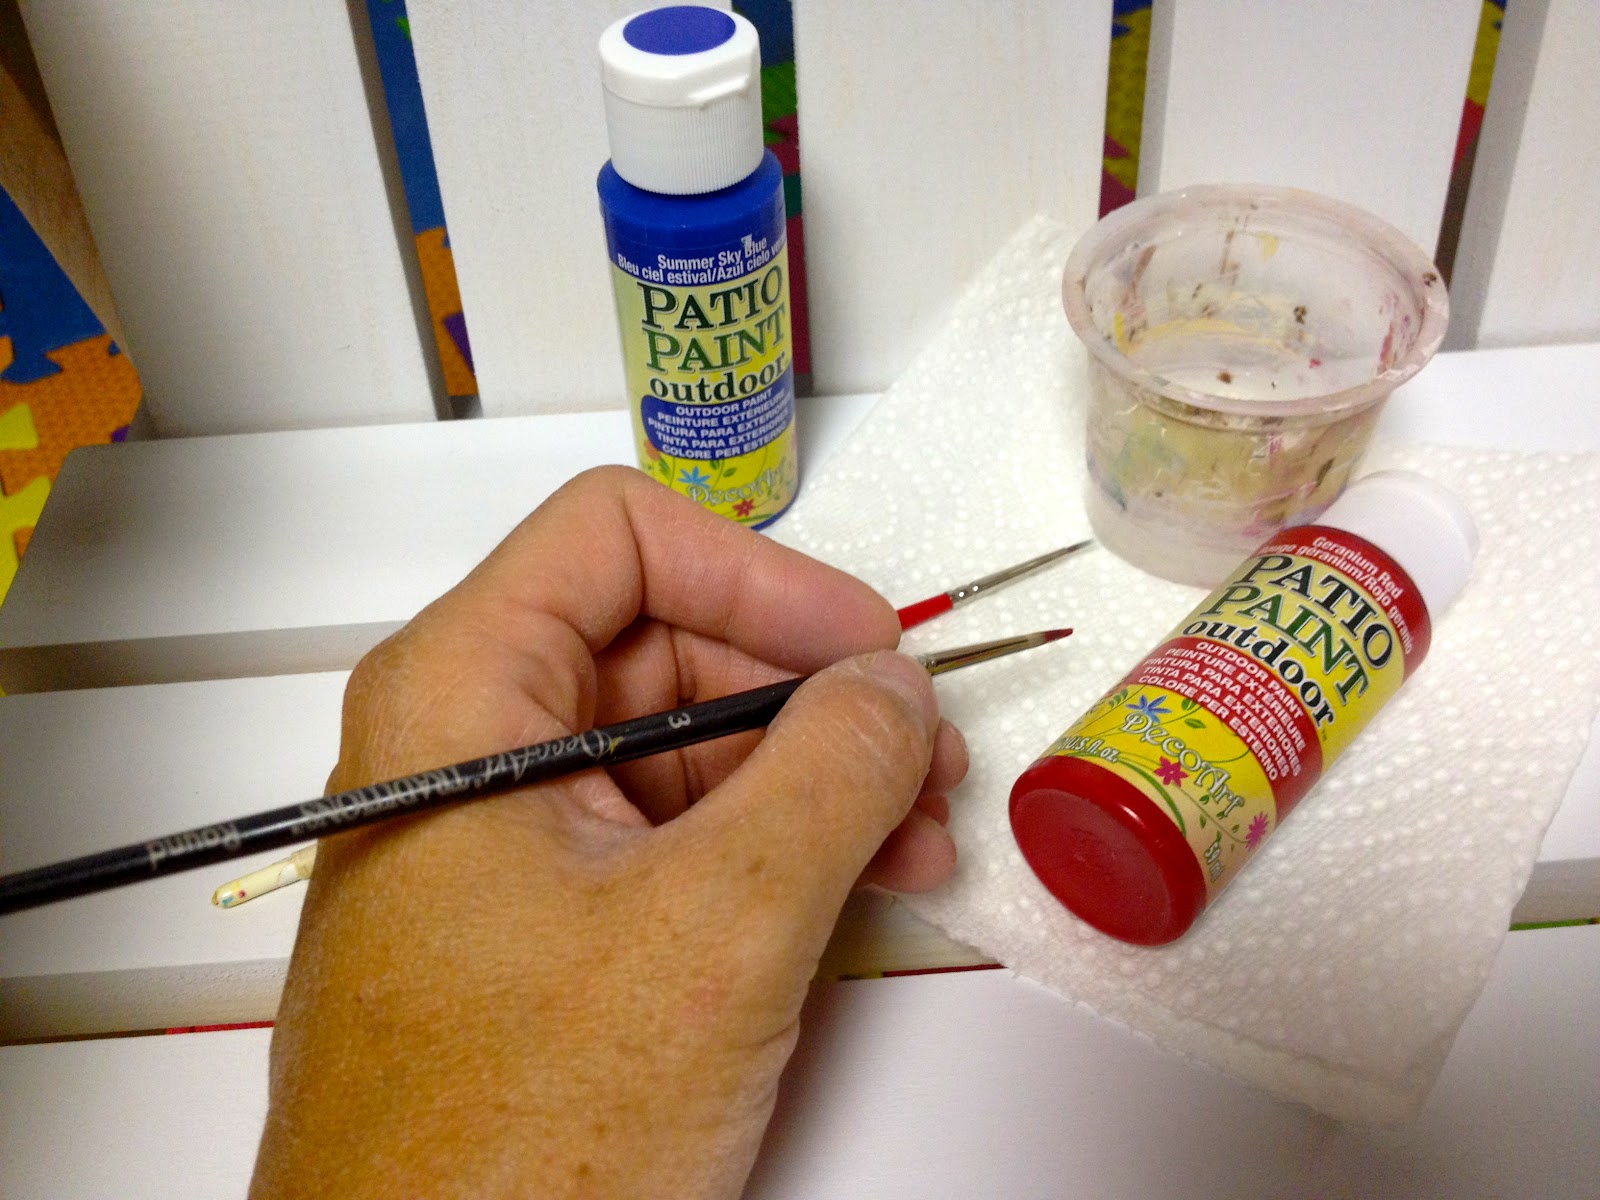
5. Using Americana patio paint and DecoArt Traditions round #3 brush:


6. Paint on and inside the indent left behind by the pen:
I did three coats.


7. Seal star with clear spray poly gloss:


I'm linking up to:

Whatcha Got Weekend @ Lolly Jane
SAS @ Funky Junk
Sister Sunday @ Sisters of the Wild West
Just Something I Whipped Up @ The Girl Creative
DIY Fall Festival @ The DIY Showoff
Nifty Thrifty @ Coastal Charm
Tuesday Treasures @ My Uncommon Slice of Suburbia
Tutorials & Tips Tuesday @ Home Stories A to Z
Good Life @ A Beach Cottage
Transformation Thursday @ The Shabby Creek Cottage
Strut Your Stuff @ Somewhat Simple
Share Awesomeness Thur @ The 36th Avenue
Flaunt it Friday @ Chic on a Shoestring
Frugal Friday @ The Shabby Nest
SAS @ Just a Girl
Feathered Nest @ French Country Cottage
Remodelaholics Anonymous @ Remodelaholic
inspiration board @ Carolyns Homework
All Things Furniture @ Perfectly Imperfect
Furniture Feature Friday @ Miss Mustard Seed
POWW @ Primitive & Proper
Sunday Showcase Party @ Under the Table & Dreaming