Pennant banners.
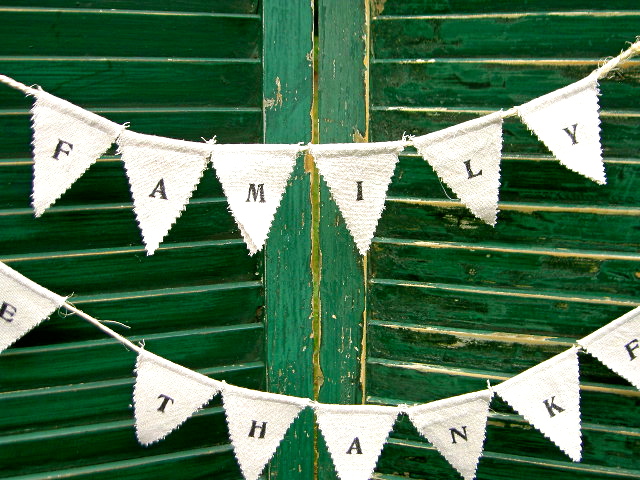
Made with drop cloth, twine and stamps.

Small size for intimate spaces.


The original brass hardware hooks are still on top:


A little Thanksgiving themed decoration.

And I know you're spying those green shutters too.
A little roadside rescue I couldn't pass up.
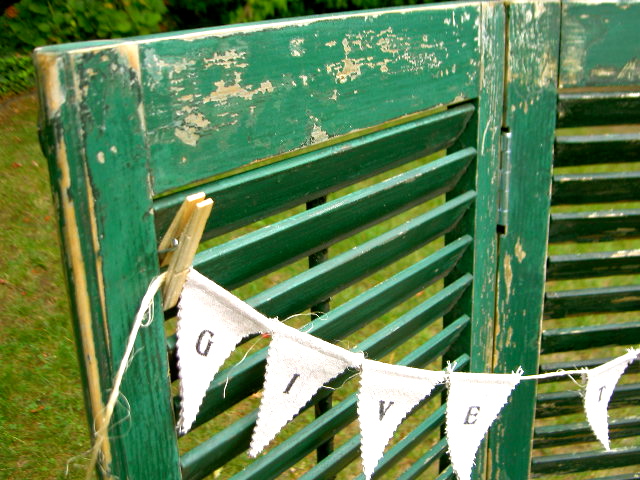
Originally they looked like this:


Dirty and crusty.
I sanded off all the chunky bits with 80 grit on the mouse, then by hand with 120 grit.
After some clear wax and a few hinges we have this:

That's aged beauty you just can't replicate.

Honestly it's very smooth despite what the picture looks like.

And some curious Roman numeral markings on the edges:

Guess these would be shutters number 17 and 18?
But then there are more numerals further down.

The original brass hardware hooks are still on top:

Makes for a good spot to display projects.

Here's how I made the banners:
1. Using a paper template, fold drop cloth in half, place short edge of template on fold and trace with pencil:

2. Keep drop cloth folded and cut on pencil lines with pinking shears:

3. Sew triangles onto twine using zipper foot:
You can chain stitch these as long as you backstitch at the edges of each triangle.

4. Stamp your letters with black ink onto the triangles:
I did go back over the letters with black acrylic paint to darken the stamped letter.

5. To keep triangle together and stiff add a small strip of double sided fusible:
Open triangle, iron fusible onto back piece, peel off paper, close triangle lining up edges, iron to seal.

6. Hang anywhere.

Theses are all Thanksgiving themed.


Be thankful:

Give thanks.
I'm linking up to:
Whatcha Got Weekend @ Lolly Jane
SAS @ Funky Junk
Weekend Wrap Up @ Tatertots & Jello
Sundae Scoop @ I Heart Naptime
Sister Sunday @ Sisters of the Wild West
Sunday Showcase Party @ Under the Table & Dreaming
Just Something I Whipped Up @ The Girl Creative
DIY Fall Festival @ The DIY Showoff
Made by You Mondays @ Skip to My Lou
Making the World Cuter @ Making the World Cuter
Nifty Thrifty @ Coastal Charm
Tuesday Treasures @ My Uncommon Slice of Suburbia
Tutorials & Tips Tuesday @ Home Stories A to Z
Good Life @ A Beach Cottage
Delightfully Inspiring @ Delightful Order
Transformation Thursday @ The Shabby Creek Cottage
Strut Your Stuff @ Somewhat Simple
Share Awesomeness Thur @ The 36th Avenue
Flaunt it Friday @ Chic on a Shoestring
Tickled Pink @ 504 Main
Frugal Friday @ The Shabby Nest
SAS @ Just a Girl
Feathered Nest @ French Country Cottage
Remodelaholics Anonymous @ Remodelaholic
inspiration board @ Carolyns Homework
Textiles @ Freckled Laundry
Outdoor Decor Thursdays @ Fishtail Cottage
Handmade Holiday Gift Guide @ Grosgrain Fabulous
Outdoor Decor Thursdays @ Fishtail Cottage
Handmade Holiday Gift Guide @ Grosgrain Fabulous